
No matter how exact I am with my pen lines and how frequently I clean my scanner, I can never seem to get a completely clean scan -- there are always dust particles or stray strokes. I'm all for texture in digitization, but I like to be in control of it! If you're working with a piece where all of the lettering is connected, it can be pretty easy to just select your lettering, right click > Select Inverse and then delete the rest. But what about a bigger, more complicated piece? It's annoying and time consuming to shift and click to select every single bit of what you want to keep.
I've developed a quirky little trick that makes spotting (and erasing) those pesky stray pixels a breeze!
Scan Your Lettering
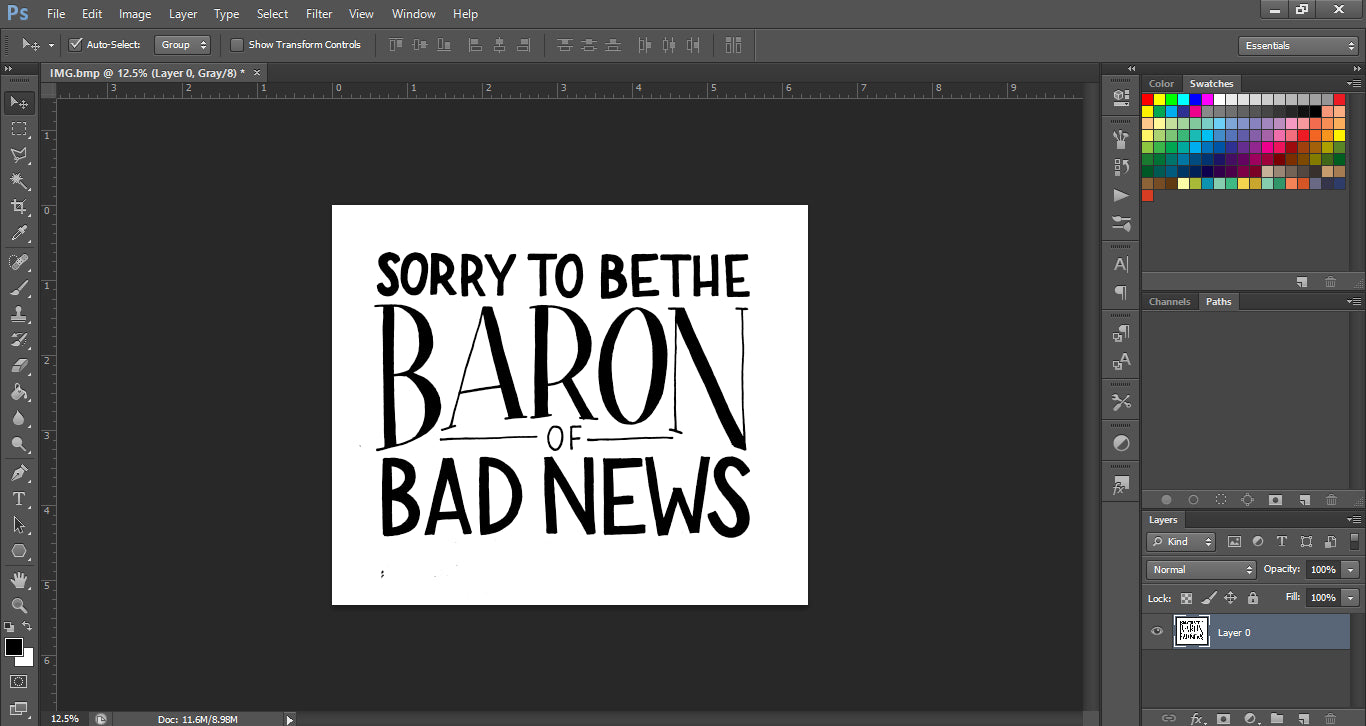
Start with a freshly scanned piece of lettering. Make sure you isolate your lettering by deleting all of the white areas. If your lettering piece is filled in, you can just select a large white area, right click > Select Similar, and delete (make sure your layer is not the background layer, so it will delete to transparent). If your lettering isn't filled in and you want to keep the white inside, you'll have to shift + click to select each area of white you want to erase. If you need a more in depth refresher on this, check out my Digitizing Lettering in Photoshop tutorial.
Add a Stroke
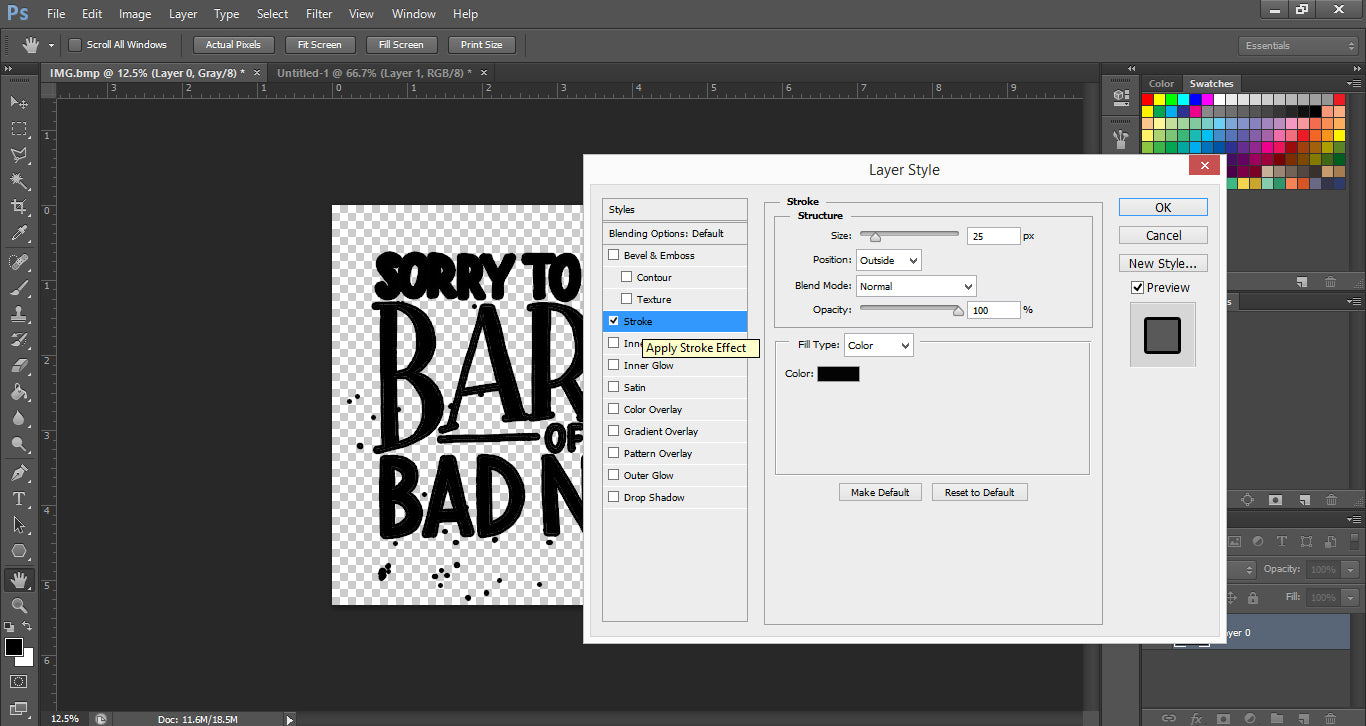
Now that your lettering is isolated, there's still some cleaning up to do! Go to the layers panel, right click, and select Blending Options. When the Blending Options panel pops up, click Stroke on the left hand side.
My default settings happened to be 25px of black stroke. See how instantly, you can see all of the stray pixels and dust much more easily? Click ok, and get on erasing those puppies! Making all of those circles disappear feels like a game to me - it reminds me of chasing and popping bubbles as a kid.
Clean Up Stray Pixels
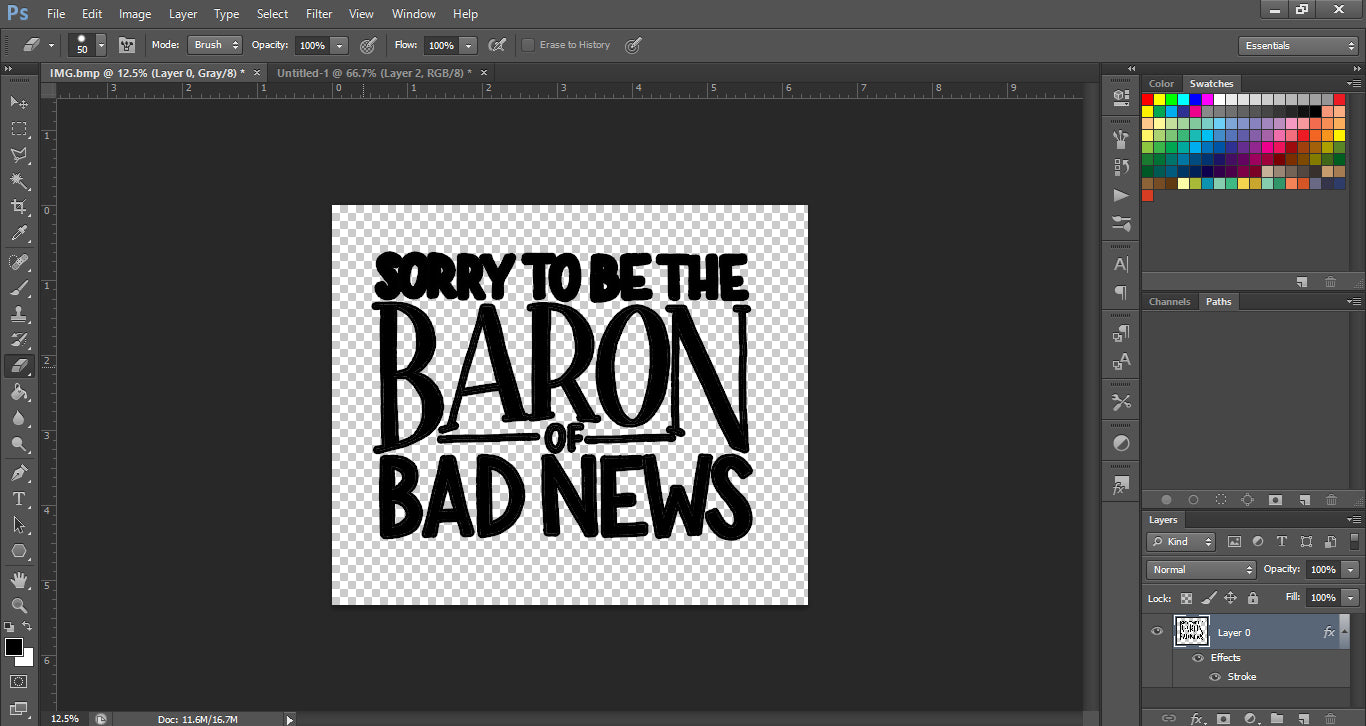
I like to use this stroke effect to spot all of the bits of dust on my scan, but also to spot some areas of my lettering that has a rougher edge than I might like. If the stroke looks really jaggedy, it's because it's basically exaggerating the existing edge of your lettering below. It can be tough to erase precisely when the stroke is turned on, because you actually need to erase inside of the stroke to clean up the edge, so I just use this to note areas I need to look more closely at.
Once you've cleaned up all of the dust and particles, right click on your layer in the layers panel, and click Clear Layer Style. This will get rid of the stroke and you'll be left with clean, isolated, dust-free lettering! From here, it's easy to continue digitizing and make the type 3D! Or, you can take it into Illustrator and try out Image Trace, but that's a tutorial for another day.
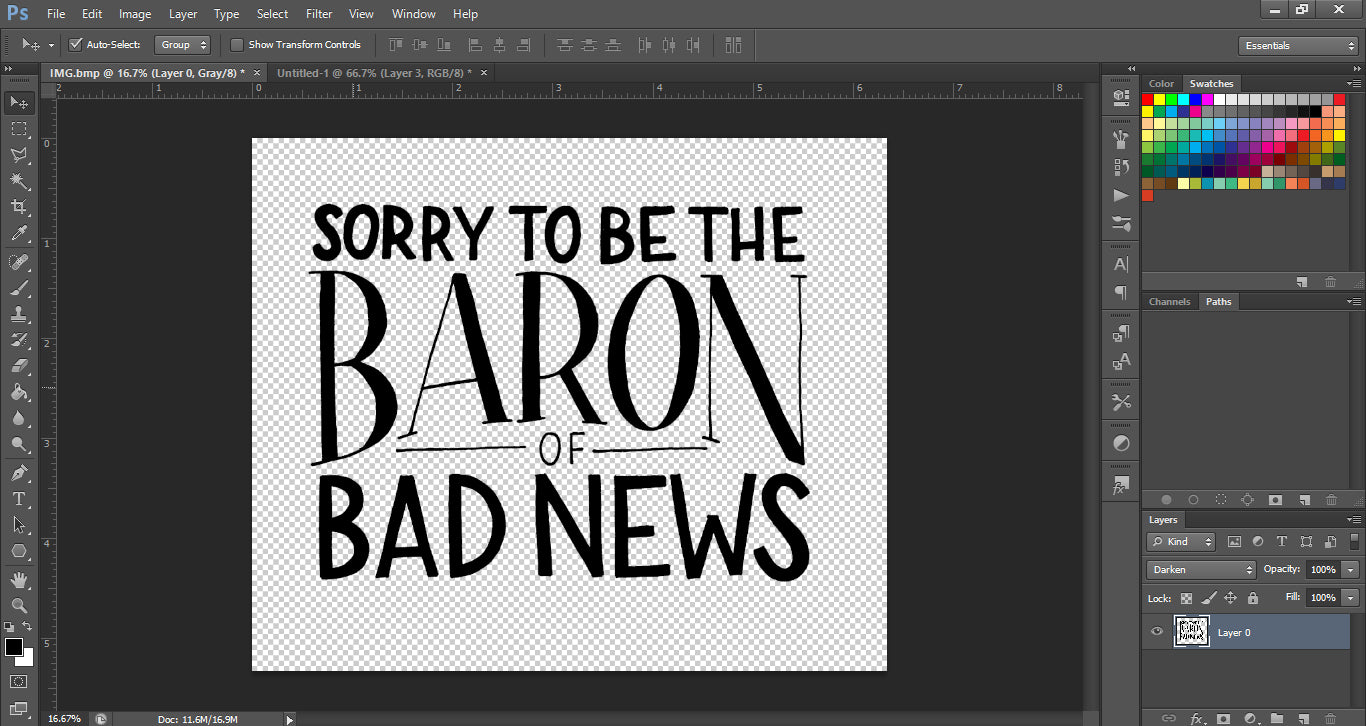
Now that you know this fun little trick, you'll never have to worry about the dust particles you can never seem to fully clean off of your scanner!
