
How to Create 3D Text in Photoshop
Giving your lettering a 3D effect in Photoshop adds a lot of visual impact, but it’s easier than you think! Today I'll show you exactly how I made the featured image for this blog post. Start with your lettering scanned, cleaned up, and isolated in a Photoshop document. If you don’t know how to do this, start with my basic digitizing your lettering in Photoshop tutorial, and then come back!
Give Your Letters Depth
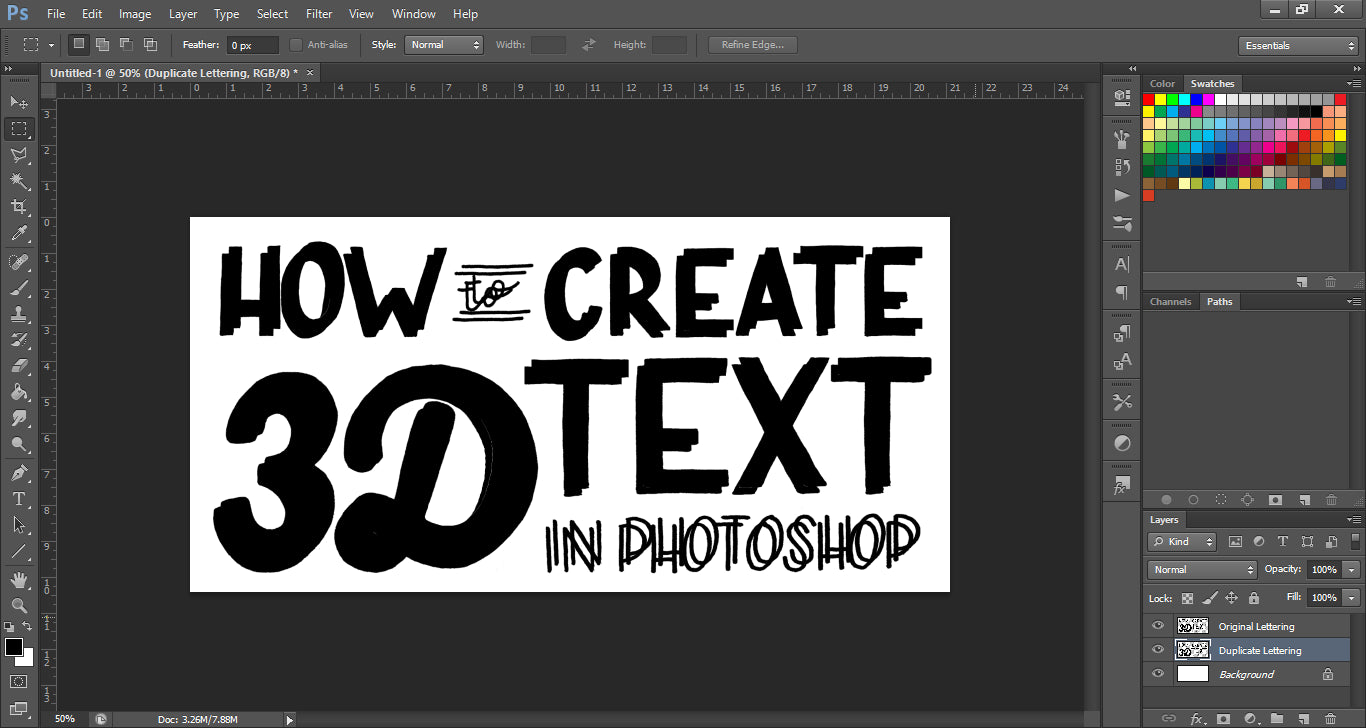
Duplicate your lettering layer (right click on the layer in the layers panel and select Duplicate Layer), move it underneath the original layer, and nudge it to the depth and angle you’d like. I typically go down and to the left, but you can go any direction! Erase any duplicated lettering that you don't want to make 3D. I typically only make my most emphasized phrases 3D, so I'll erase the rest from this layer.

Pixel lock both layers of lettering, and find a color scheme you’d like to work with. If you’re struggling with color schemes, I love coolors.co. I generally make the lettering layer that’s going to give the 3D effect a darker color than the top lettering layer, to add to the effect. Sometimes I'll make the top layer white, and other times I'll make it just a much lighter version of the 3D color. The world is your oyster!

Un-pixel lock the darker layer of type. Using a small brush, draw lines to connect the second layer of lettering to the original in front of it. I either do this freehand, or I’ll create a sort of guide with the Rectangular Marquee Tool. If you don’t have a steady mouse hand yet, use the marquee tool to select a square area. Right click, and click Transform Selection (not Free Transform - that will transform the area of your work you’ve selected, not the square itself). Rotate the square until the angle matches up perfectly to connect your two lettering layers. Then you can just follow along the line with the brush tool to connect the layers, and move the square to each connection spot as you go. Deselect the area when you're done with this step, and then use a larger brush to fill in the remaining inside your 3D area with the same color.
Add Some Shading
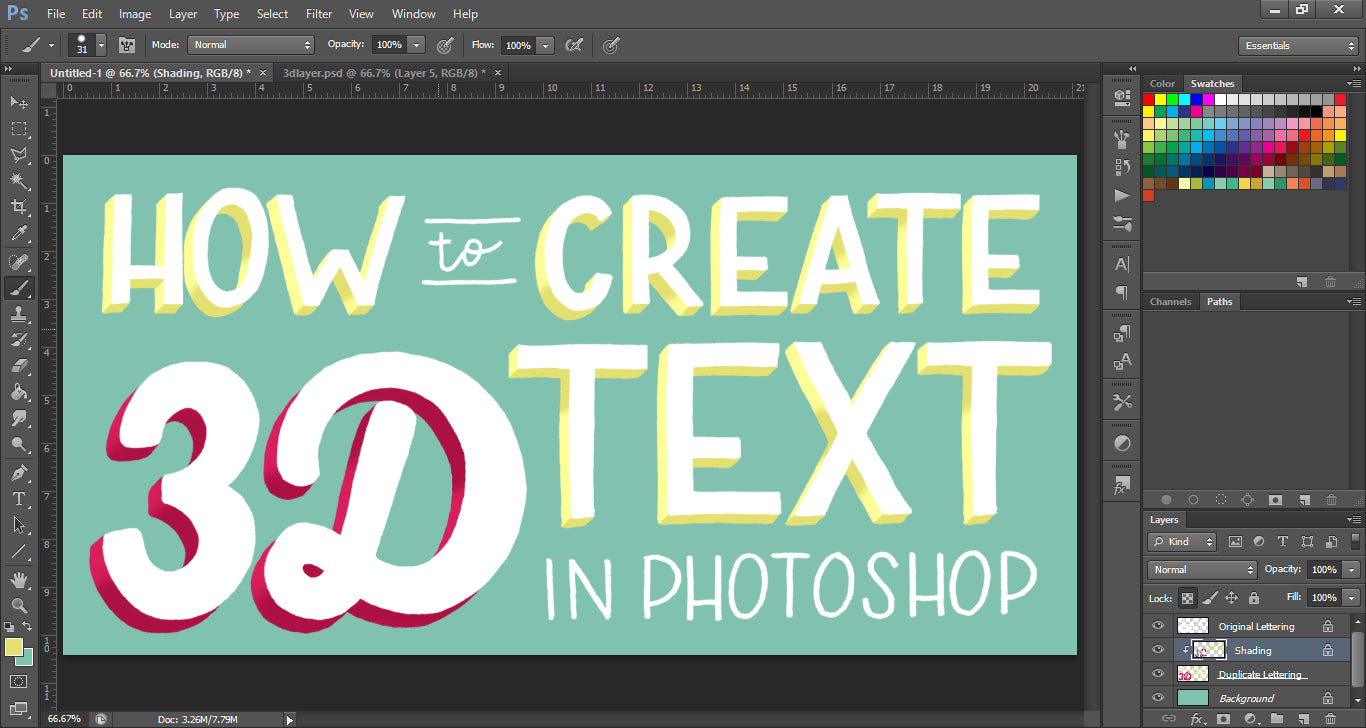
Create a new layer above your 3D layer (CTRL/Command + Shift + N), and select "Use Previous Layer to Create Clipping Mask" in the box that pops up. The new layer should indent a bit to the right and have an arrow that points down to your 3D type layer. Now, no matter where you draw on that layer, it will only show up if it’s inside the colored areas of your 3D layer. This is where we’re going to add some shadows to make the depth more realistic.
Grab a darker shade of the color of your 3D lettering, and use the Brush Tool to paint in shading on top of your 3D lettering. I generally imagine the light is coming from the upper left hand side, which means everything on the underside of a stroke needs to be shaded. I use a hard brush for spots that should have no transition, like the bottoms of the letters, and a larger, softened brush to fade the shading a bit on rounded areas or strokes that I think are half in shade and half not.
Don't Forget a Shadow!
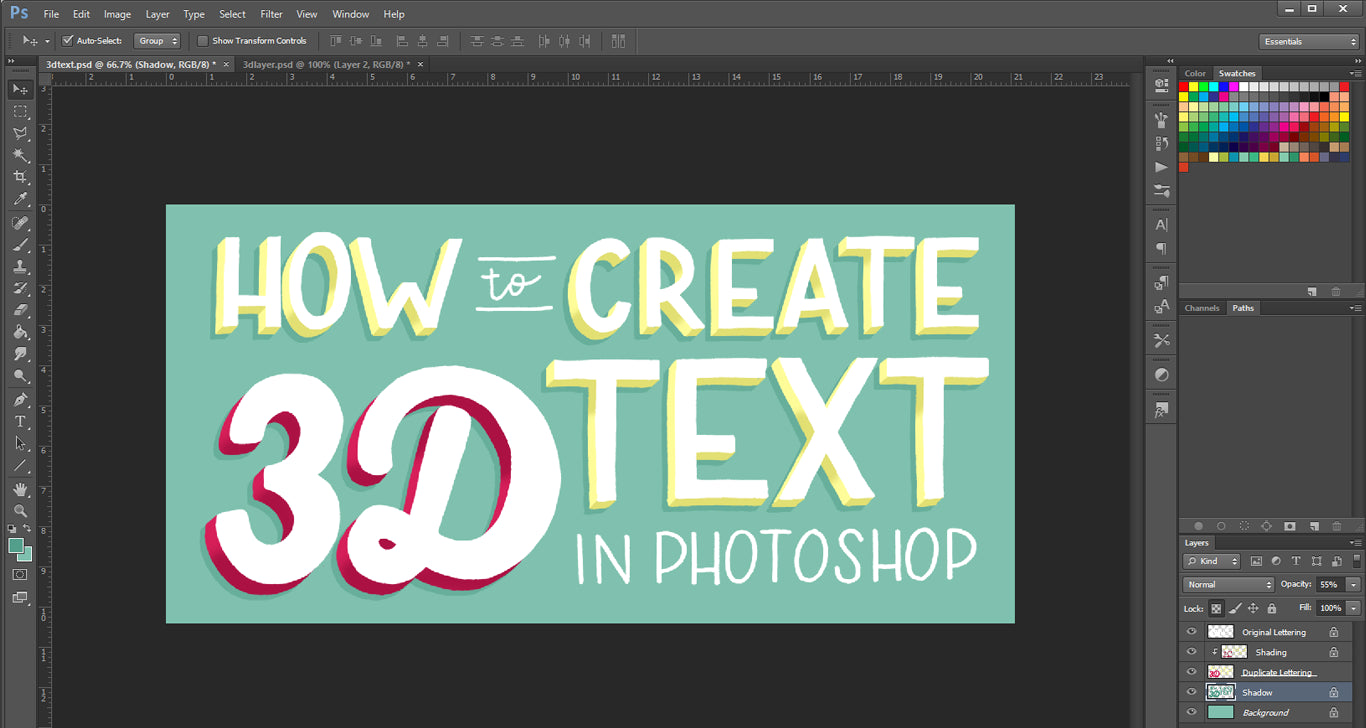
Once you’re happy with your shading, there’s one last detail - a shadow. Select all 3 layers of your lettering, duplicate them, and merge those duplicates into one layer. Move that layer beneath all of the other layers of type, just above your background layer, and nudge it to offset it from your lettering a bit. Just like in the 3D layer, erase any lettering you don't want to have a shadow from this layer. I again don't want my accent pieces to have a shadow, so I'll erase them.
Pixel lock the layer and grab a darker version of your background color and color in the lettering. Then, drop the opacity until it’s a soft, subtle shadow. This is usually around 20-30% for me, depending on the color.
Voila! Now you have beautiful, colorful 3D lettering. And if you keep all of your layers separate (and labeled), it’s easy to tweak your color scheme or add additional effects, like texture.
