
How to Digitize Lettering in Photoshop
Photoshop is easily my favorite method for digitizing my hand lettering. It's quick compared to other methods, and it maintains all of the character (and slight imperfections) of your original drawing. You won't end up with a vector image (an image based on paths rather than pixels, which can be scaled infinitely without ever looking pixelated!), so it's not a viable option if you need to make a small drawing very large. But it works wonderfully when your original drawing is close to the final size you need. So, today we'll be looking at how to digitize through Photoshop. To start, grab your finished, clean, inked drawing. If you have a couple of stray ink spots or minor imperfections you aren't happy with, that's OK - you can clean them up digitally! I scan my drawings in at 600 dpi. I find this method works best with a scan rather than a photo, as a photo just isn't going to be high res enough.
Scan Your Image & Clean It Up
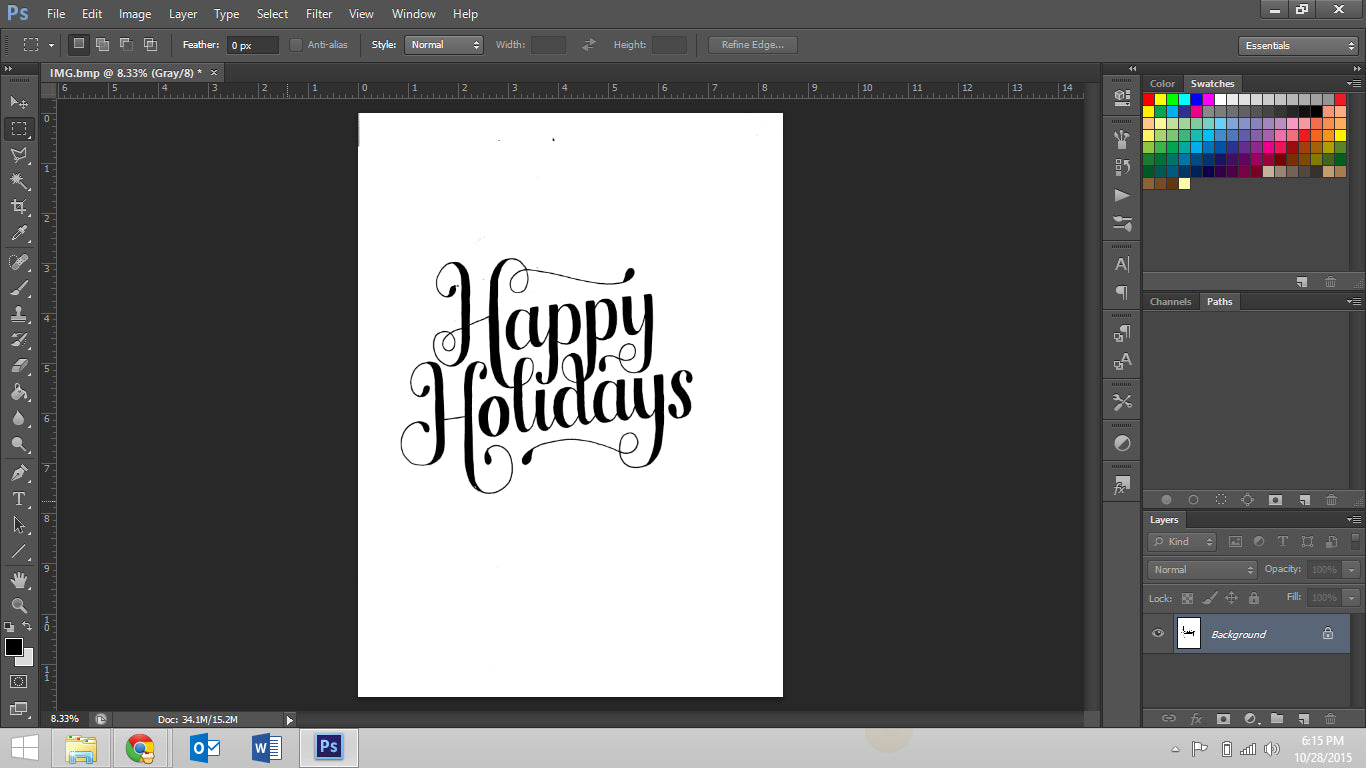
If you scan in a black and white drawing using the File > Importoption, it's probably going to scan in as a bitmap. Go to Image > Mode > Grayscale... and convert the image before you do anything. You're going to be using the Magic Wand in a few minutes, and it doesn't work with bitmap files. Leave the size ratio as 1. After Grayscale, you can convert the image to RGB (for web) or CMYK (for print), so you can add some color in a bit!
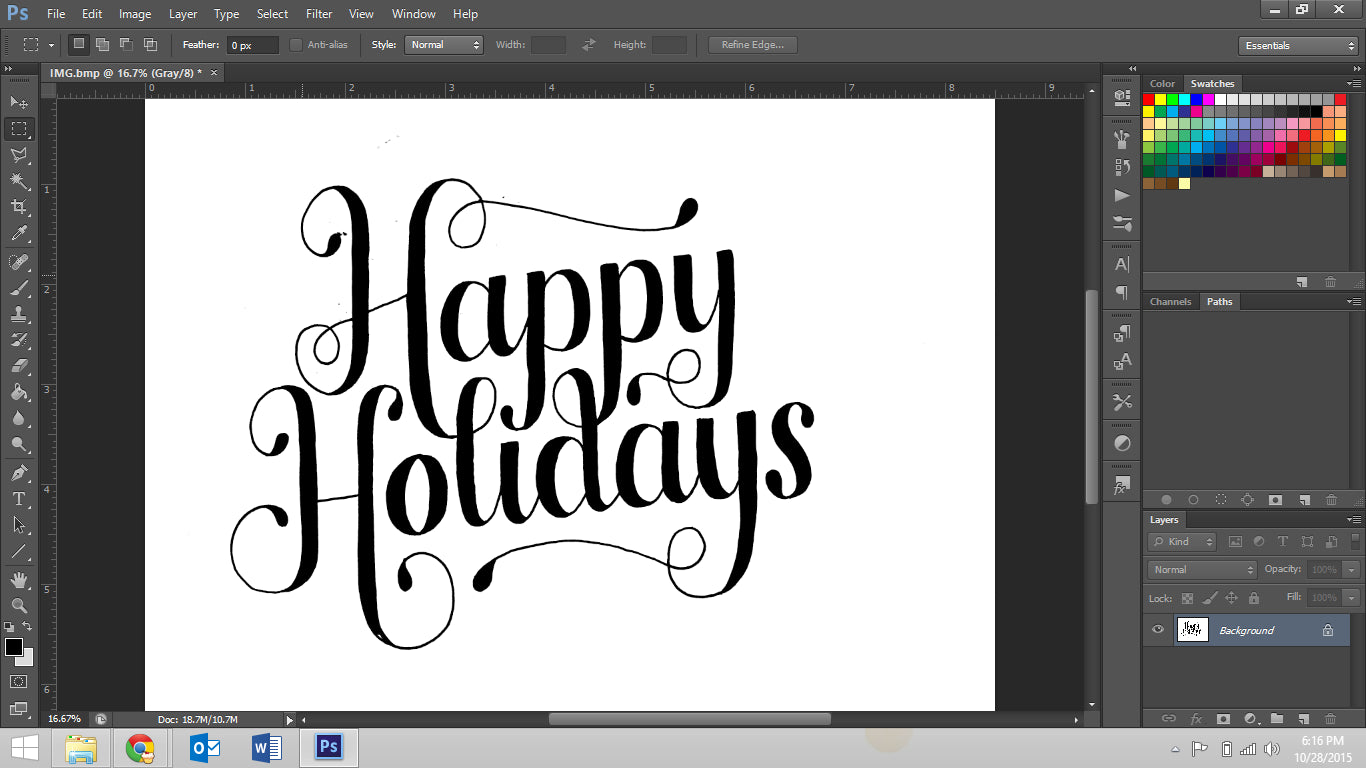
Next, I go in and erase any stray ink, dust, or other specks that I don't want in my final piece. I also use the Brushtool to fill in any spots within the letters I might have missed, and crop the piece to the size I want.
Once you're happy with the cleanliness of your piece, right click your Background layer in the Layers panel on the right hand side of Photoshop, and select "Layer from Background." It should now be called Layer 0. You should get in the habit of naming your layers appropriately, but I am admittedly horrible about this.
Isolate Your Lettering
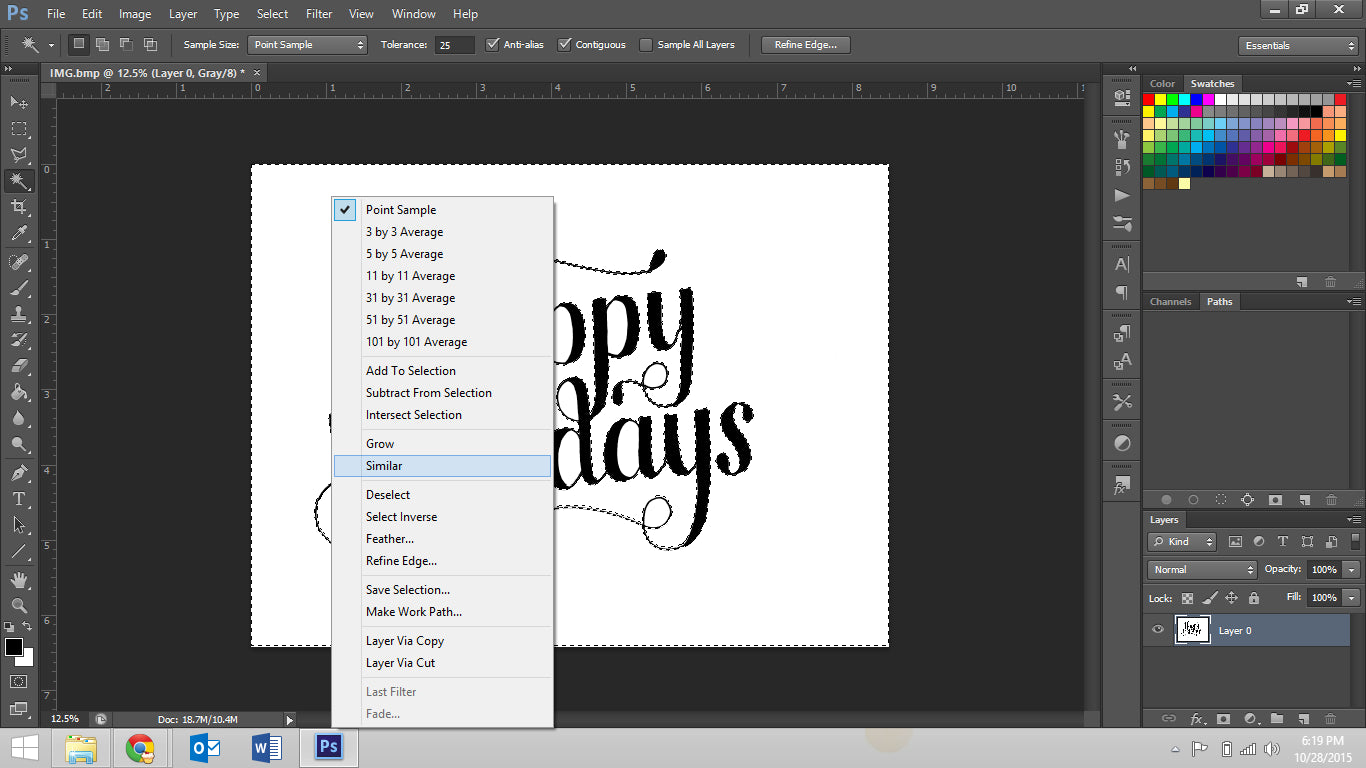
Then use the Magic Wandtool to select all of the white spaces outside of your lettering. You can select the largest piece of your background, right click, and click "Similar" - this will select all of the other white spaces in the drawing. Then press delete. Now you have isolated your lettering!
Caveat: If you haven't done a thorough job filling in any white spots inside the fill of your letters, using the "Similar" feature will select them too. The other option is to just manually Shift+Click with the Magic Wand on all of the individual white areas (like counters and the inside of any flourishes) you want to delete.
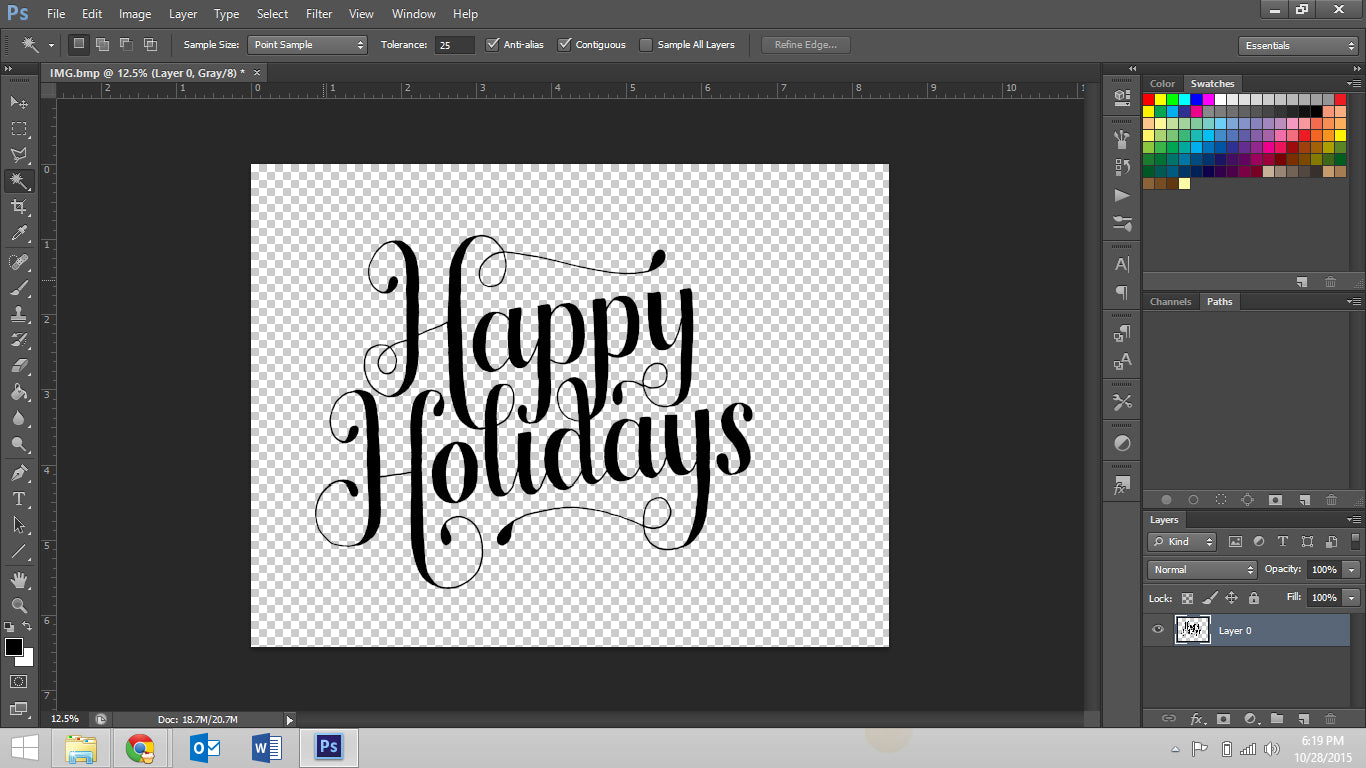
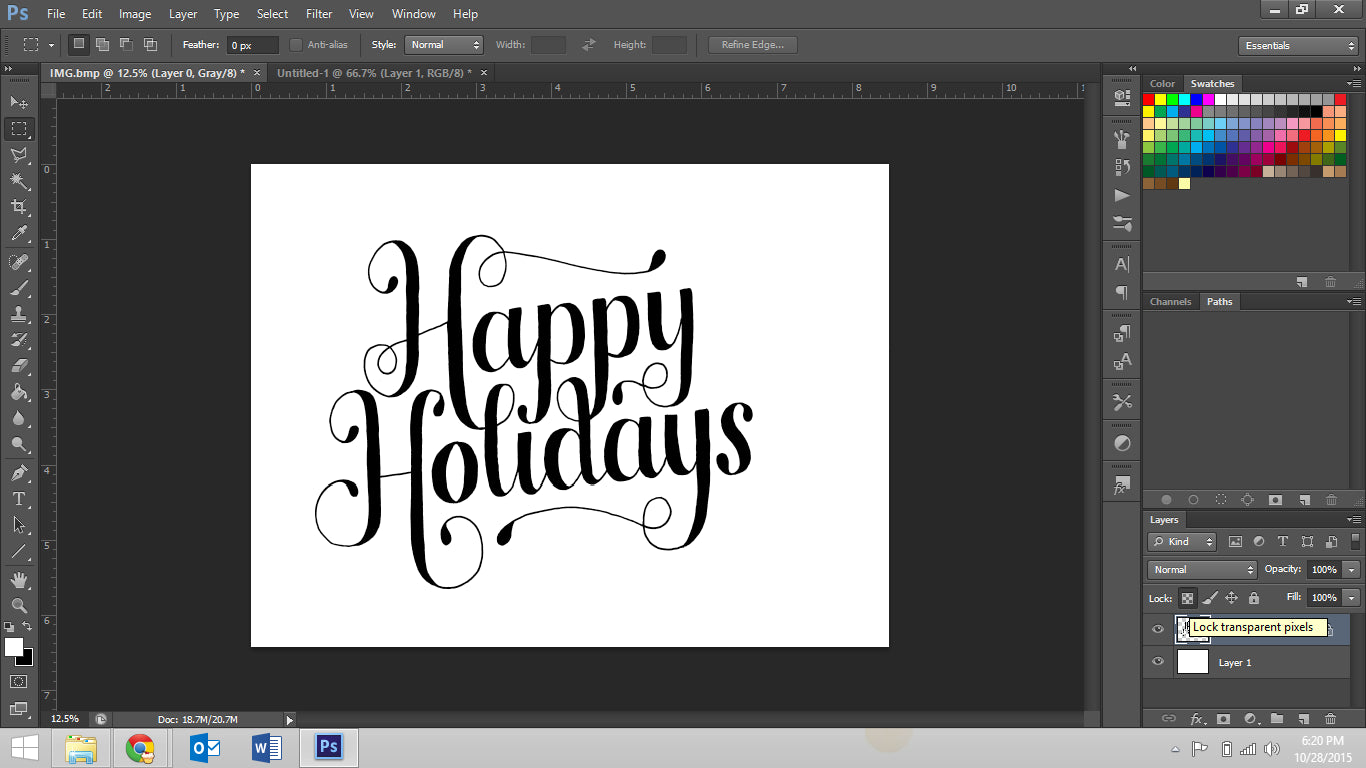
Once you've isolated your text, hit Ctrl + Shift + N to create a new layer. Drag this layer in the Layers panel so that it's under your lettering layer, and make the background whatever color you want. I'm sticking with white for now.
Select the layer with your lettering, and click the "Lock Transparent Pixels" box in the layer panel. This locks all of the pixels on the layer, so any editing you do now will not affect the structure of your lettering - just the color or effects on it. Transparent pixels will remain transparent, no matter how many times you click on the transparent area with a brush or paint bucket.
Add Some Style!
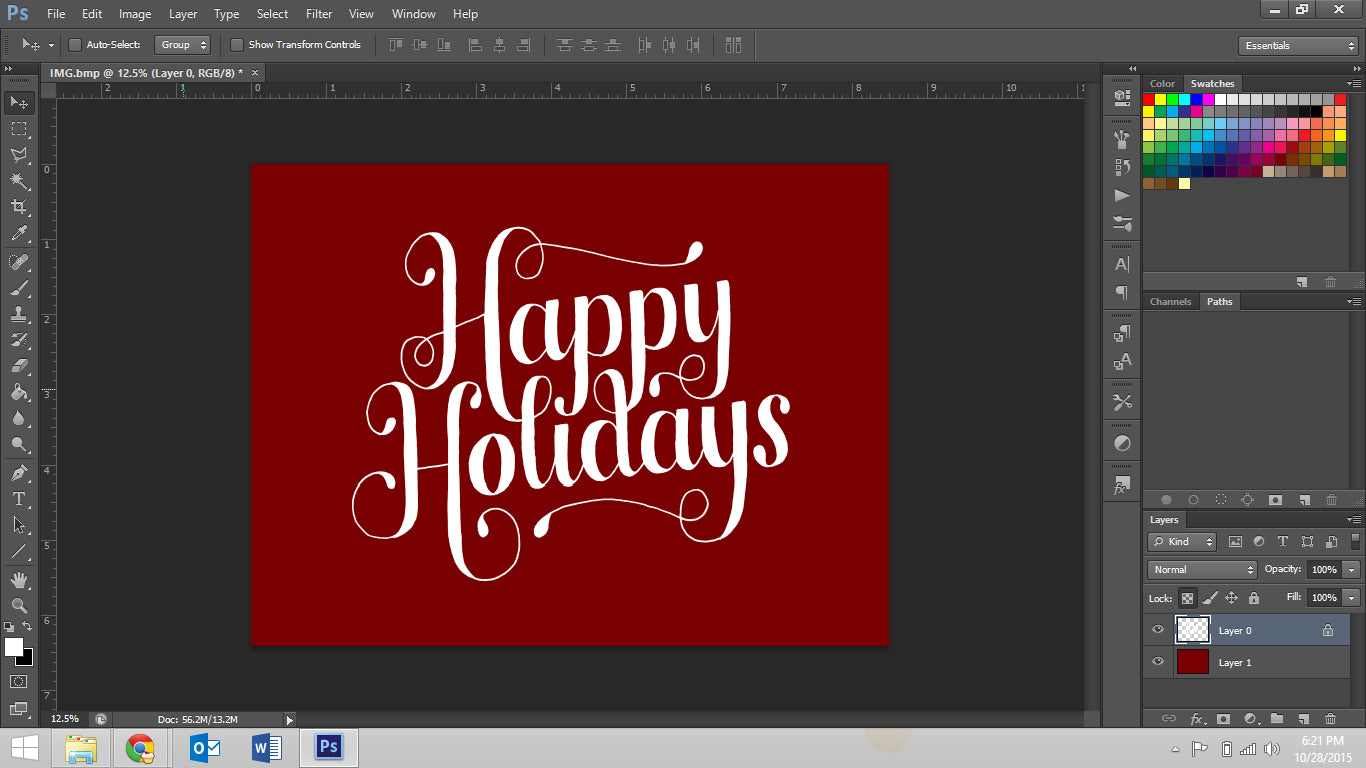
Select the color you want your final lettering to be, and sweep the brush tool across all of your lettering - only your lettering should be affected by this! I chose white for my letters, and changed my background to a deep red using the Paint Bucket, for a nice holiday color palette.
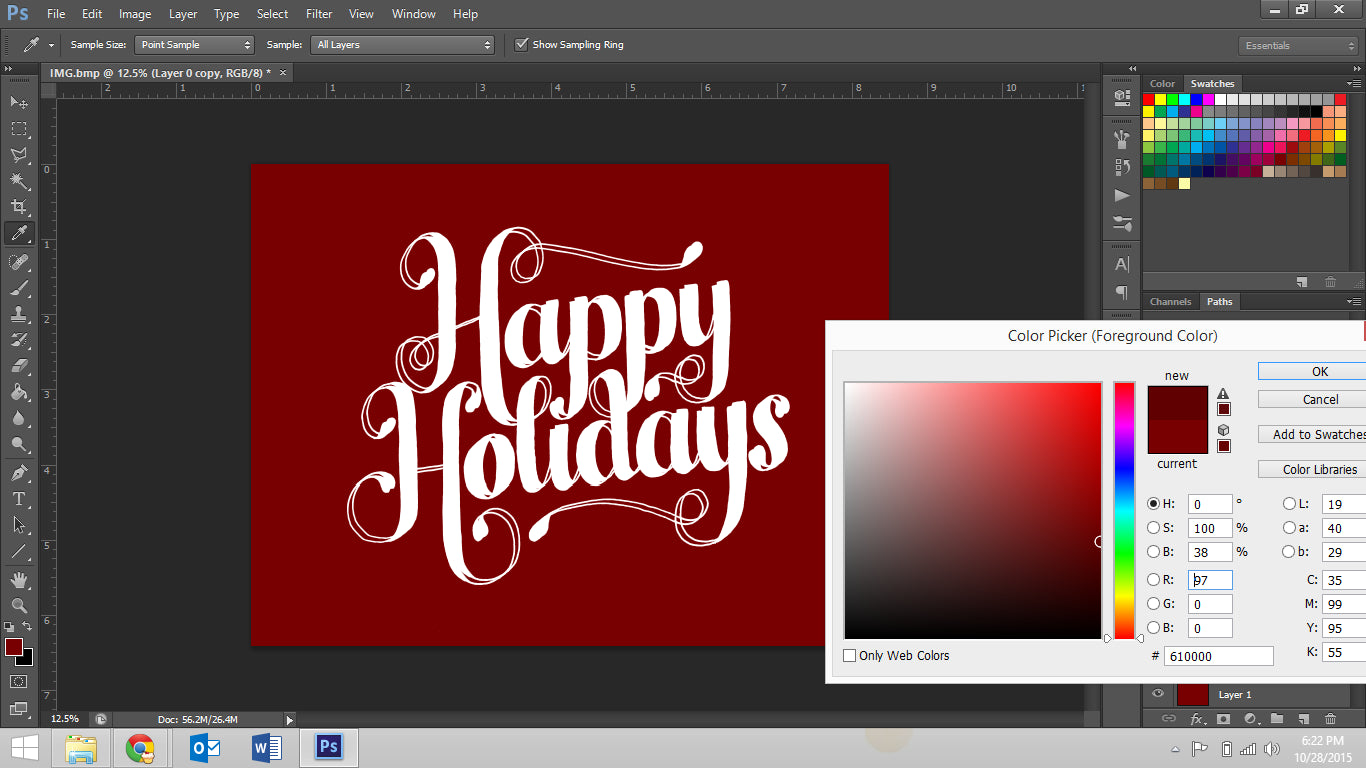
Now it's time to add any additional effects you like. I like to add a little drop shadow behind my text, to give it a little extra depth. Duplicate your lettering layer (right click on the layer in the Layers panel, and click "Duplicate Layer") and drag it so it's below your original lettering layer. Nudge the duplicate lettering a bit down and to the left using your arrow keys, make sure Lock Transparent Pixels is selected, and choose a color a bit darker than your background layer. Use the brush tool to color all of the duplicate layer of lettering that color, and voila - a simple drop shadow! If it's a little too dark, you can drop the opacity of the layer a bit.
That's it. Seriously. If you want to explore adding textures to some of your layers, now's the time, but you have a fully digitized, ready-for-print piece!

You can still see every imperfect line or rough edge from my original drawing, and that's why I love about this digitization method. Sometimes, a piece calls for the more perfect edges or a vector file, like if you're hand lettering a custom logo, but generally, I want the organic, hand-drawn look for my work. All of the prints in my Etsy shop are prepared this way.
Got any questions, or additional Photoshop tips I missed?
